Try "USB HardLocker 5"-USB key creation software to prevent data leakage
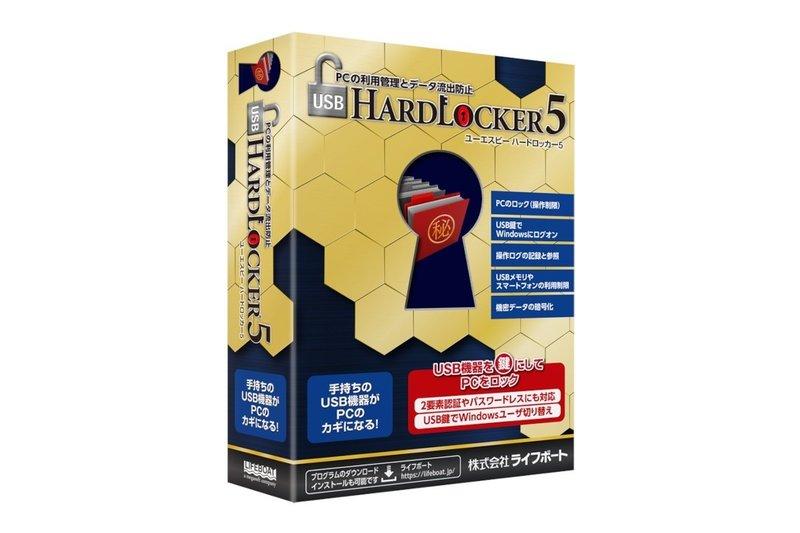
Figure 1 USB HardLocker 5 Package
Below, I would like to introduce the basic functions of UHL 5.
From installation to initial setup
First of all, it is a system requirement, but if it is an environment where Windows OS runs, there is no problem (see the Lifeboat Web page for details). For the CD-ROM version, the installation menu will be displayed. Select [Install].
All you have to do is follow the instructions on the screen. It is completed in Fig. 3.
Select [Finish] to finish the setup. A reboot is required for UHL 5 to take effect.
After restarting, it will be the initial setting. UHL 5 always requires one administrator key. First of all, it will be created. Connect the USB memory.
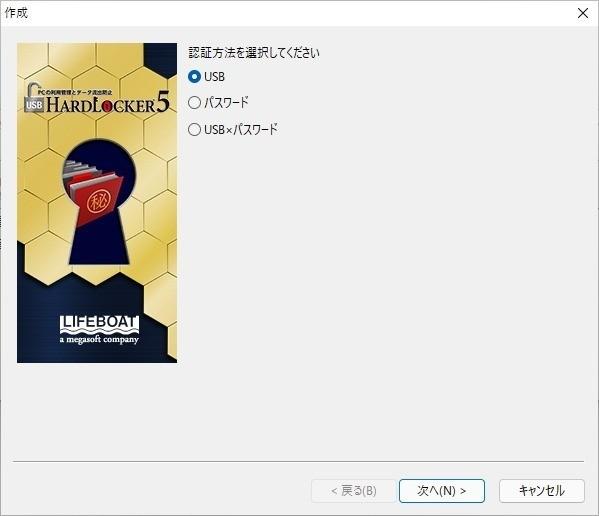
First of all, there are three types of authentication methods: USB, password, and USB x password. What to use for authentication, only USD equipment would be safe. Of course, if you set double authentication, it will be more secure. It may seem strange that only passwords are used. This setting is also meaningful for the master key described later. If you select USB or USB x password, you will be selecting a USB device.
Here, select the connected USB memory. What should be noted is the presence or absence of a serial number. Mice and keyboards often do not have a serial number.
Without a serial number, all devices with the same model number would be recognized as the same key, making no sense as a key. Therefore, USB memory is the safest choice for keys. For the key type, select an administrator.
The other is the user key, but you can also make settings that do not allow administrative setting operations (set by the administrator). Next, the secret area (encrypted area that cannot be used without the key) is set. One secret area can be set for one key. Not set here.
To associate the key with a Windows user, check Sign in and enter your username and password.
Finally, enter the name of the key you want to set.
The settings up to this point are displayed.
If this is all right, click [Finish]. The administrator key is now created. When you start the utility in the start menu, you can see that the administrator key has been created as shown in Figure 13.
Without the USB key, as shown in Fig. 14, the screen is locked and no operation is possible.
The [Exit] button at the bottom shuts down.
Creating a master key
The next thing I want to do is create a duplicate key. From the utility in Figure 13, select Properties, display the Authentication Method tab, and click Add.
The screen will be the same as in Fig. 5, so select the authentication method. First, use another USB memory as a master key. The screen will be the same as in Fig. 6, so select a USB memory. The added key is displayed on the Authentication Method tab.
Similarly, select [Add], and this time select the password as the authentication method. With this setting, USB memory etc. are convenient, but easy to lose. Moreover, it is not unthinkable that it will be damaged. If you create multiple master keys, the possibility is low, but security becomes an issue. Therefore, the screen lock in FIG. 14 can be unlocked only with the password. According to Lifeboat, it is not possible to deal with lost USB keys or forgetting passwords.
The password is added to the [Authentication Method] tab.
Figure 19 is displayed when the key is added or changed.

To unlock the screen in Figure 14, press [Ctrl] + [Shift] + [Left Mouse Button] to display the password entry screen.
If you do not use a USB key, you will be prompted to enter your password for every UHL 5 related operation. It should be considered as an evacuation measure.
Create a user key and automatically log on to Windows
Next, let's create a user key so that we can automatically log on to Windows. Select Create from the utilities in Figure 13. The screen will be the same as the initial setting.
As in Figure 6, select the USB memory. Select [User] as the key type.
Again, check [Sign in]. For the user name, the accounts that can be selected from the pull-down menu are displayed. Enter your username and password appropriately.
The difference from creating an administrator key is
Is a point that can be set. Since the administrator can cancel it, there was no need to set it. The operation policy can be set appropriately for the user.
As with the administrator key, when you enter the user name and check the contents, a new user key is added to the utility.
Furthermore, when logging on automatically, options can be set in [Sign in] in [Settings] of the utility.
Basically there is no problem by default. The above [On the Windows sign-in screen ...] limits the sign-in method to UHL 5 key attachment. Below [When the key is removed ...], Windows is locked at the same time as the screen lock of UHL 5. It is recommended to set it on a PC shared by multiple users.
Now, on the Windows sign-in screen, if you attach the USB key, you will be logged on as the specified user.
Restrictions on the use of USB memory and smartphones
With UHL 5, even if a USB memory or smartphone that is not authorized by the user key user is connected, the PC can be locked so that it cannot be operated until it is removed. Attach the administrator key and select [Prohibit additional storage] from [Settings] from the utility shown in Fig. 13.
To enable this function, check [Use storage addition prohibition]. Below that are three options. [Prohibit USB devices other than storage] prohibits the connection of devices such as smartphones to which drive letters cannot be assigned. Prohibiting the addition of USB devices and drives has the same meaning. It cannot be used even if a USB memory or an external drive is added. Then, if a USB memory or the like is connected in this state, it is automatically registered in the permission list. Select the utility's Allowed USB Devices to see the list.
User key If you do not want to allow users to use it, change "All users" to "Administrator only". Similarly, in [Allowed Drives], change it to "Administrator Only".
Here, there is only F, but to prohibit the use of network drives, add drive letters such as X, Y, and Z. If you prohibit USB devices other than storage and connect an unauthorized USB memory, it will be locked as shown in Fig. 30.
The attached USB memory is detected. It also recognizes a BlueTooth receiver connected to a USB port. It will be a very effective way to prevent information leakage.
Collecting and managing logs
Finally, let me introduce the UHL 5 log. Select Log in the utility in Figure 13 to see the logs up to that point (log collection is enabled by default).
The default is message format, which is encrypted. Therefore, it cannot be seen from other than the utility. The items collected by default are shown in Figure 32.
Other than keyboard and file access are set. Individual items can be set in more detail. For example, in the file operation, it is as shown in FIG. 33.
You can also set folders to exclude.
The collected logs are encrypted, but can be exported to text.
The overall settings are made from [Log File] in [Settings] of the utility.
You can make detailed settings such as not collecting, timing, format, save destination, etc. Combined with the above collection items, it can be set quite flexibly. As the log format, CSV format can also be selected, so it is convenient to select CSV format when installing on multiple PCs and managing logs. When an incident occurs, this log can be analyzed to help investigate the cause. However, it's important to note that these logs can be huge. It should be considered to reduce the collection items as necessary.
There are also some features that could not be introduced in this article. Please refer to the manual etc. for this area.
I couldn't introduce it, but a volume license is also available for corporations. For more information, see the Lifeboat website at the beginning.
