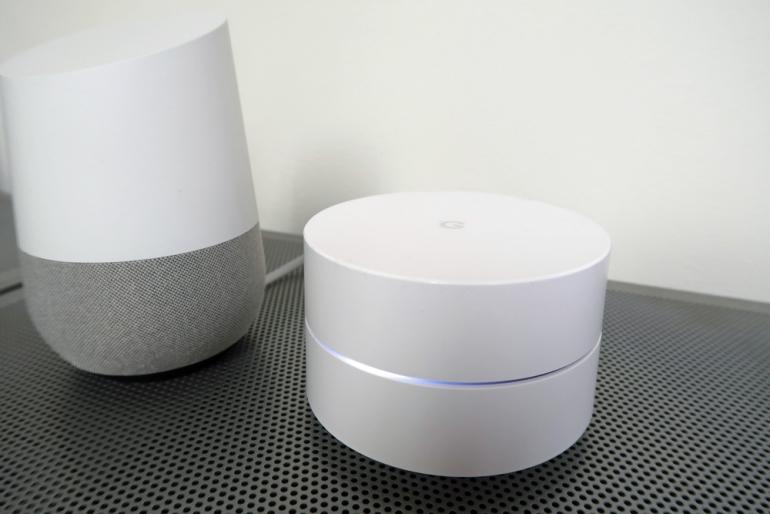
In anticipation of the IoT era, I prepared a Wi-Fi environment at home with "Google Wi-Fi"!
The number of equipment that leads to Wi-Fi is increasing.A variety of IoT equipment, including smartphones, tablets, TVs, recorders, games, cameras, printers, and recently smart speakers, lighting and smart locks.The location where these devices are used is not necessarily near the Wi-Fi router.For example, the Wi-Fi router may be a study, the smart speaker is a living room, and the IoT equipment is the entrance.In addition, smartphones and tablets are carried around in various places in the house.In other words, Wi-Fi is required to connect many devices without stress, but to be connected to the Internet from anywhere in the house.
Therefore, the new mesh network has been attracting attention recently. Until now, multiple devices have been connected to one Wi-Fi router, but in the mesh network, multiple Wi-Fi access points are autonomously connected, and what access points are the terminals. Even if you are nearby, you can control it flexibly and connect to the Internet from anywhere. If access points increase, the area where Wi-Fi is connected while winning will be wider. Until now, there has been a way to use Wi-Fi in a larger area using a relay machine, but if the conventional method is to extend the line based on the Wi-Fi router, The mesh network is an image that connects access points literally to make a mesh and fills the surface. There is no decrease in the speed that tends to occur when using a relay machine.

■ Reinforced concrete -built 3 -story bad condition, test the ability of mesh network
Although it is a Wi-Fi mesh network that attracts attention in the IoT era, there are not many home equipment that can be purchased in Japan. I used Google Wi-Fi to check how much the area actually expands and how stable communication can be done. The writer's house used for the test is a three -story reinforced concrete building. Wi-Fi is not only difficult to reach radio waves if there are many obstacles, but it is still difficult to reach up and down, and reinforced concrete is a considerable difficulty. By the way, we have tried various methods, such as increasing the antenna of the Wi-Fi router and using a relay machine, but in any case, from the first floor with Wi-Fi router to the living room on the 3rd floor with TV. An environment where it could be connected stably could not be built. Once I had a professional look at it, I was told that I had no choice but to wire. Will this pretty bad condition be improved a little with the "Google Wi-Fi" mesh network?
■ If you have a smartphone, anyone can do it, so easy to set up.
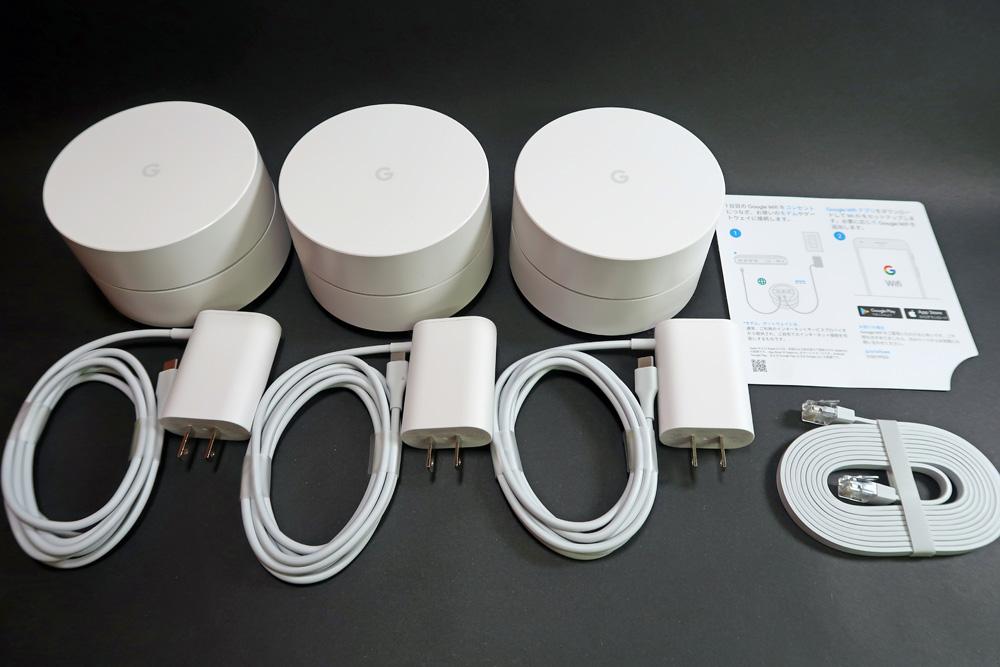
"Google Wi-Fi" can be purchased alone for 16,200 yen, but to build a mesh network, you need at least two or more.Three sets from the beginning are also sold, and this time we used these three sets.
Google "Google Wi-Fi 3pack" 42,120 yen.The bundled items are only AC adapters and cables.IEEE 802.11a/B/G/N/AC, Bluetooth Smart compatible.Diameter 106.1 x height 68.7 mm, weighed 340g.
On the back is a WAN port (a modem (and connected) and a LAN port. Both can be used as a LAN port except for the main access points that directly connect to the modem. If you use the hub, you can connect with more devices and wired.It is also possible.
If you empty the box and take out three Google WiFi access points, setup from there is surprisingly easy.First, download a dedicated app on your smartphone.Next, connect the first access point to the optical line modem with a LAN cable.At this time, there is basically no problem even if the modem is integrated in the router.According to the app procedure, scan the QR code on the back of the first access point and select the installation location (this is the name of this access point).After setting the network name (SSID) or encryption key, select the network name from the smartphone Wi-Fi settings and connect it.Return to the app again and follow the procedure to set the second and subsequenters.After the second and subsequent units, turn on the power and select the installation location, then test the connection according to the procedure, and complete the setup if there is no problem.
